
Bespoke Colour Service
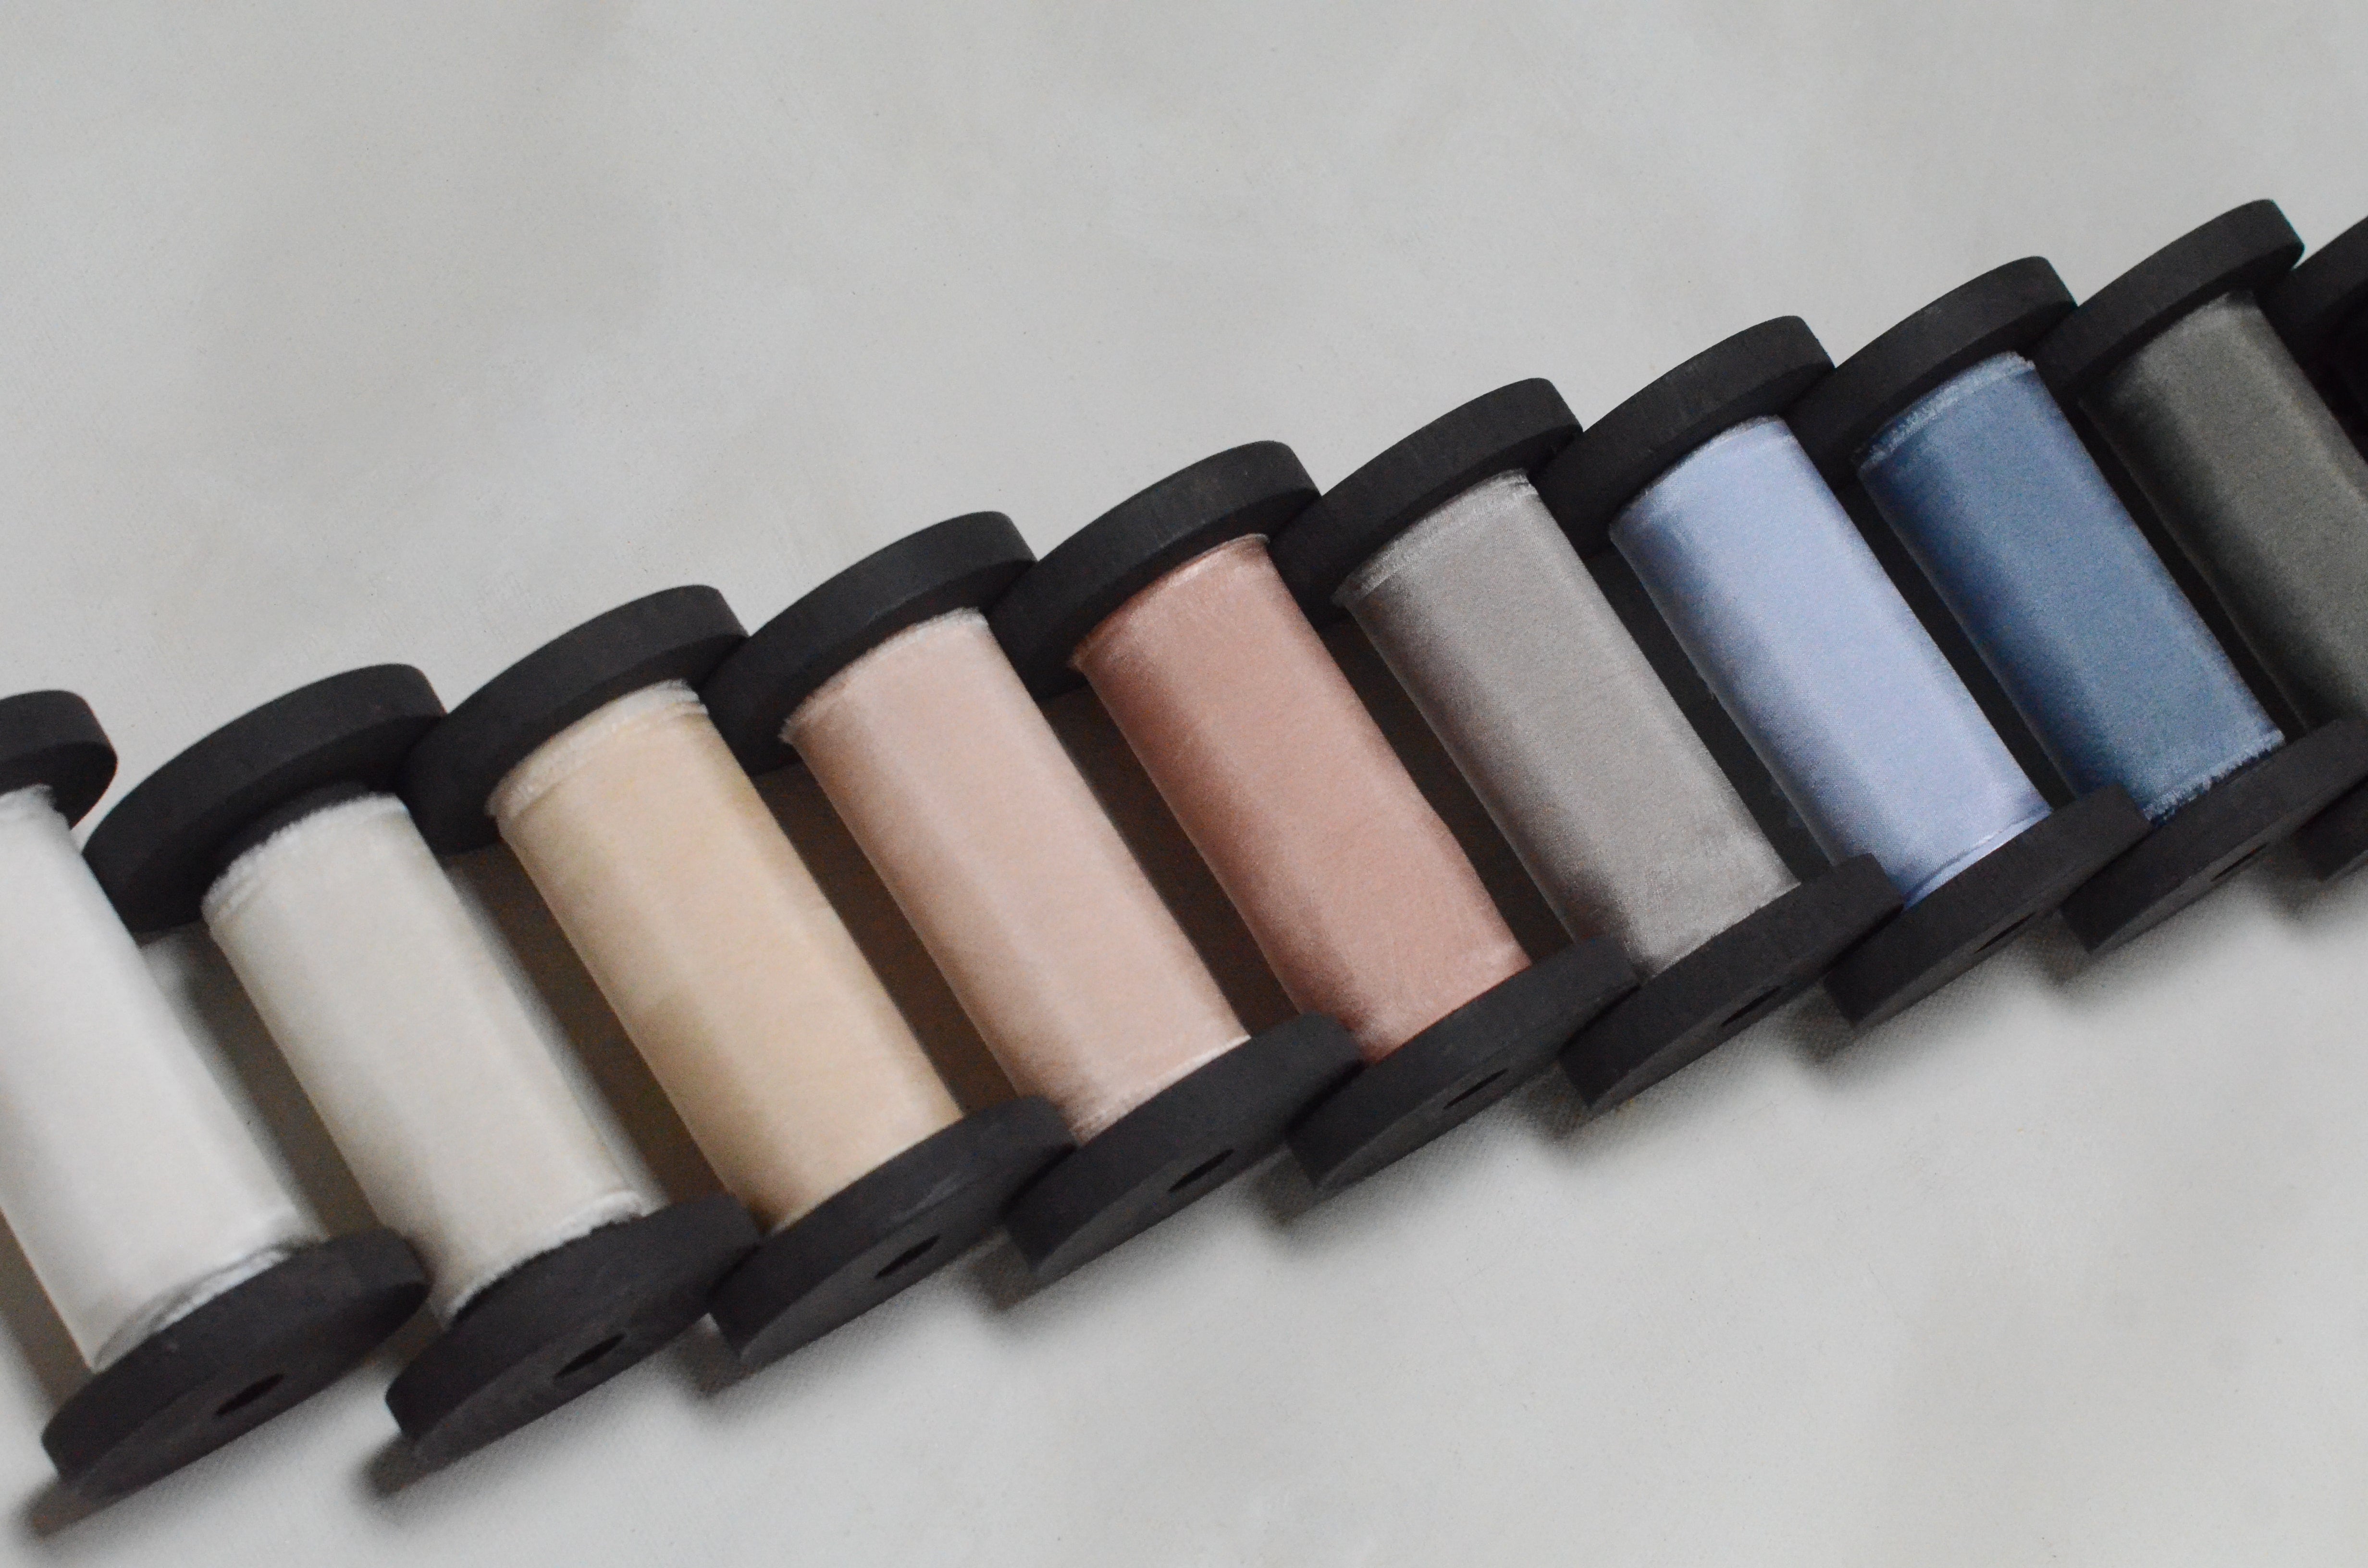
Delve into a world of enchanting hues, where every ribbon tells a unique story. Our ten core colors and limited edition shades are just the beginning of the journey. But why stop there? Unleash your imagination and let us craft a bespoke color palette tailored just for you.
Working with natural dyes is an art, and we're masters of the craft. While colour matching may be a challenge, it's not impossible. We pride ourselves on our expert knowledge and understanding of how to manipulate natural plant dyes to achieve a stunning spectrum of colours.
Our bespoke colour dye service is perfect for those seeking something truly extraordinary. Whether it's for a special event, a unique gift, or simply to add a personal touch to your creations, we're here to bring your vision to life.
To embark on this colourful journey, simply reach out to us at hello@thesilkstudio.uk. We will work closely with you to understand your requirements and create the perfect palette. Please note that our bespoke service is available for orders of a minimum of £150, with an additional £30 charge to cover the costs of extra dye stuff required for the work.
Please keep in mind that timescales may vary depending on the season and the complexity of your project. Rest assured, we'll confirm the timeframe upon your enquiry to ensure your expectations are met.
Discover the magic of bespoke colour with The Silk Studio. Let's create something beautiful together.